How to Prepare Fresh, Wild Game Meat For Storage
People hunt for all sorts of reasons, whether it’s the feeling of getting back to their ancestral roots and becoming one with nature, or the pride of using their tracking skills and patience to take down a food source in order to provide for their family or something else entirely.
No matter why you hunt, when you take down a large animal, you will end up with a lot of fresh meat. Obviously, you could take it to a meat processor and pay to have it done, but if you hunt often, those costs are going to add up.
 Even if money is no problem for you, if you are hunting your own meat, chances are at some point you are going to want to prepare your own meat as well. You went to all the trouble of taking down your own kill.
Why let someone else decide how it’s going to taste?
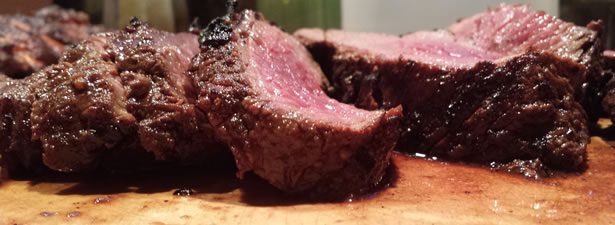
When prepared and preserved properly, the meat from wild game can make a wide variety of absolutely delicious foods.
The trick to making a good final product, however, is starting off right when the kill is first made. Retrieve the animal quickly, to reduce the likelihood of dirt and other debris from sticking to the carcass.
Try to keep it away from any excess blood and bodily fluids too. When skinning the animal, try to make sure that as little hair as possible gets on the meat. Note: larger bullets, and some arrows, can contamination freshly killed game meat (though smaller bullets are usually not problematic. Take a look at this guide to understand the different calibers for hunting).
Then, quickly remove any rounds you find while skinning to keep the meat fresh and free of any “ammo” taste.
Not only to keep hair from winding up in the finished product, since nothing much spoils a good meal as fast as finding a coarse animal hair in your nice juicy steak, but also because the hair can actually take away from the final taste of the meat.
Hair is very absorbent and it can soak up flavor the same way it soaks up oil spills.
Source: Flickr, Susan Drury, CC BY 2.0
Safe meat handling guidelines say you should never leave any uncooked meat above forty degrees for more than two hours, so consider that your time window.
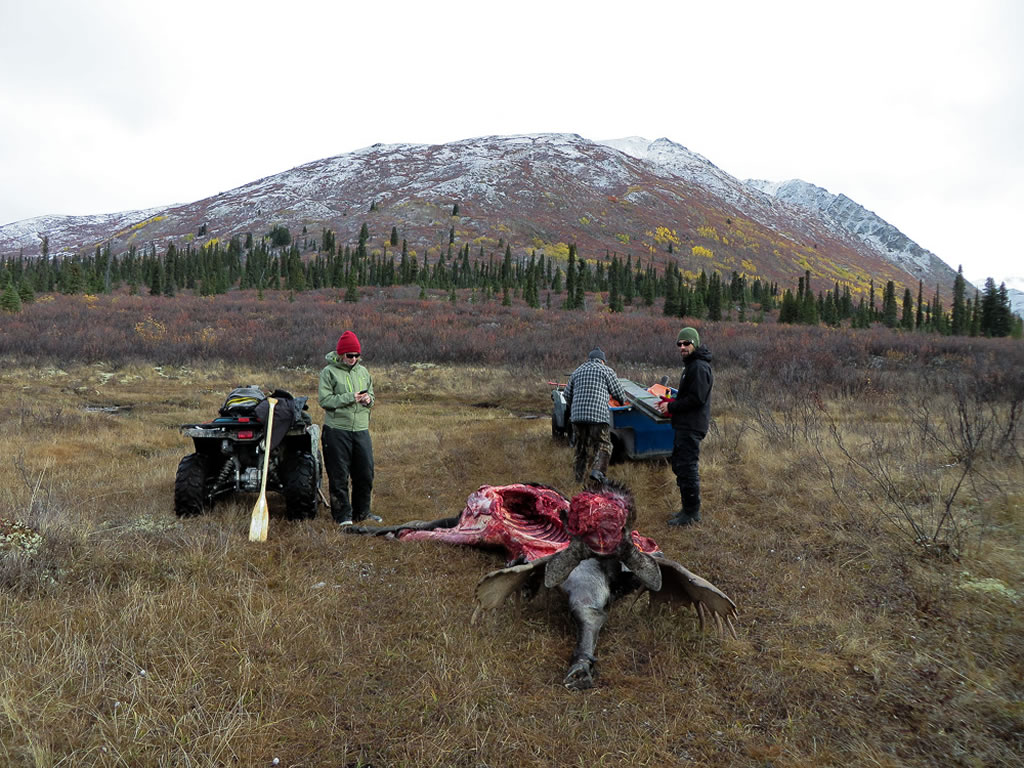
If you’re hunting during winter, then you can easily hang the carcass outside straight away to drain out the excess blood and leave it there until you’re ready to leave.
If it’s fall, however, and the temperatures are still above forty, then you’ll need to pack your cooler full of ice to make sure the meat can be brought down to forty degrees by the two-hour mark. Line the top of the ice with a couple of towels to keep the meat from freezing prematurely.
If you can drain the meat for an hour or so before you put it in the cooler, so much the better. The blood will drain more easily while the carcass is still warm, not to mention there’ll be less clean up to do on your cooler later.
Still, once you get it home, you’ll want to hang it again, still at or below forty degrees, to allow the meat to age for a few days. Whenever the exposed meat it hanging, drape it with a clean dry cloth to protect it from dust and insects.
If temperatures are too high to hang it outside, the meat will need to age in a refrigerator instead.
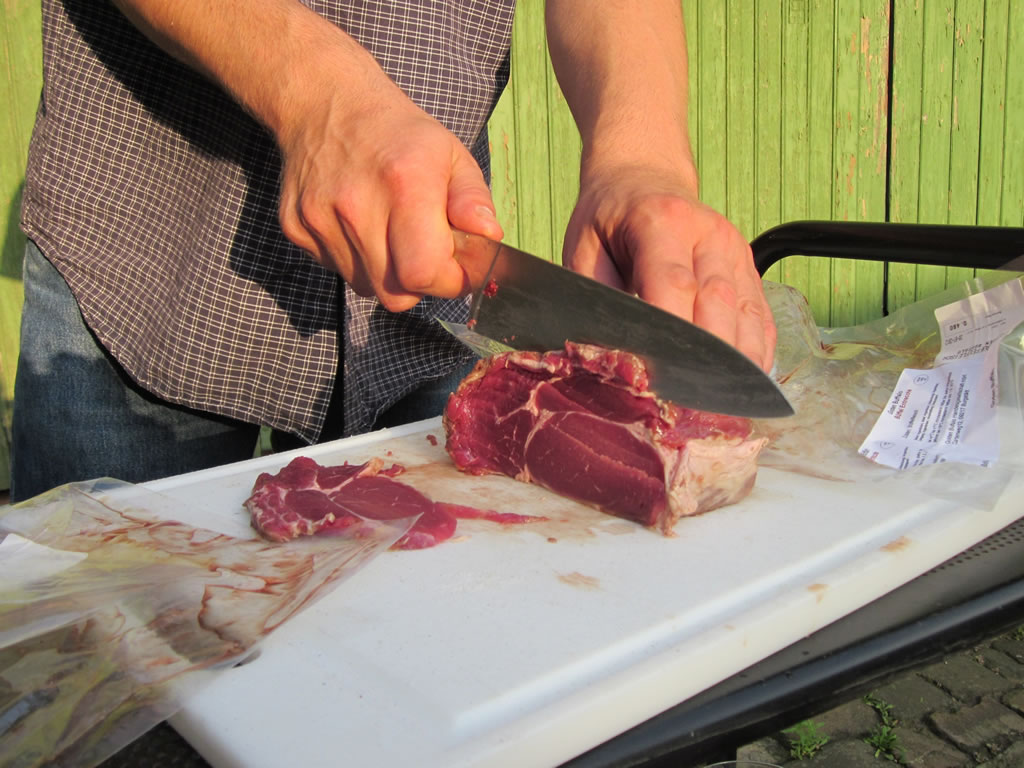
 Whether you are able to hang the meat outside and then cut it up, or you need to cut up the carcass before storing it in the fridge, the process to keep it clean is the same.
Be twice as vigilant against contamination as you would with prepackaged meat from a grocery store. You should make absolutely certain that all utensils and surfaces with which the meat will come into contact has been thoroughly cleaned and sanitized, and don’t forget to wash your hands well too.
Once each piece has been cut, rinse it thoroughly with clean, fresh water, pat it dry and place it in a clean storage container of some kind. Cutting charts and diagrams for various animals can be found here.
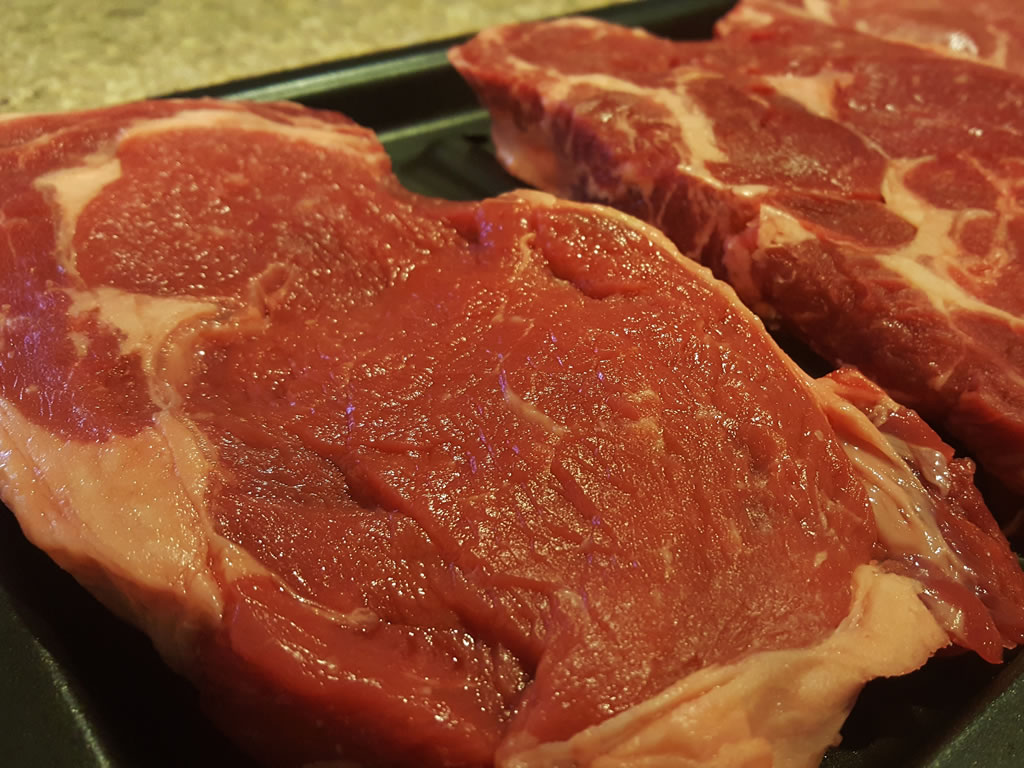
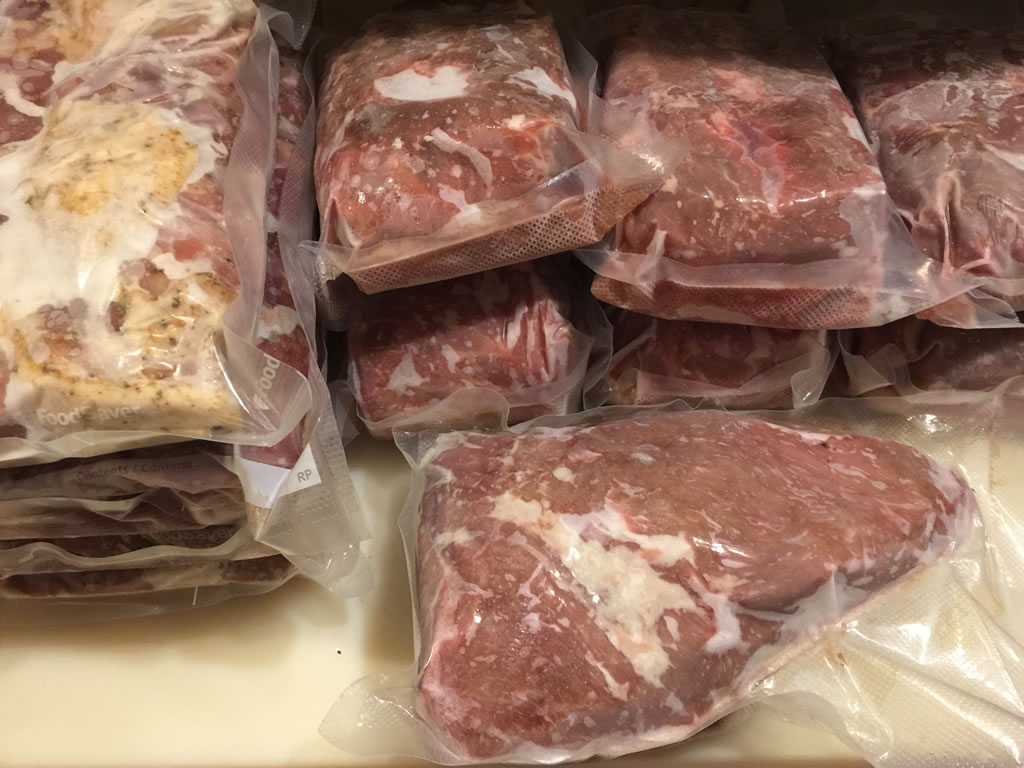
Even if you have a family of eight, who intends to eat some of the game you caught every single day for a week after your meat is aged, chances are you are probably still going to have to put some of that meat into the freezer to keep it from spoiling.
 If you really want to make sure you get the best tasting meat possible after it has been thawed again, you have to make sure no air touches the meat while it is in the freezer.
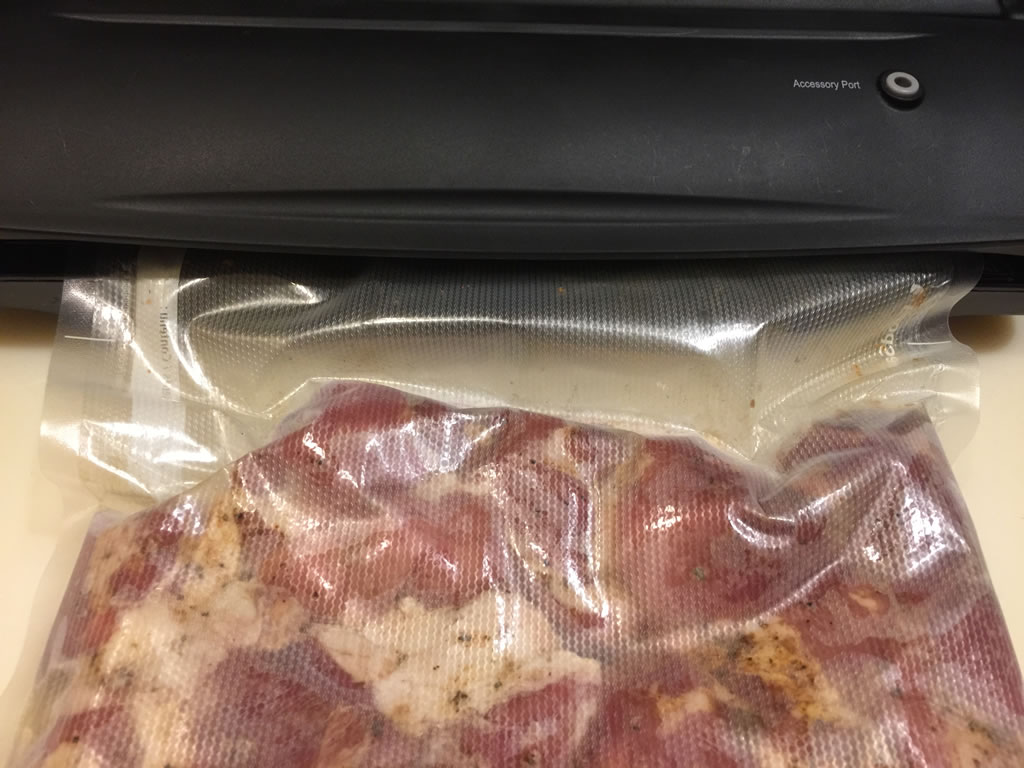
The best way to achieve frozen meat that is virtually air-free is a vacuum sealer. You place the meat in specially made bags, then the machine quickly removes all the air and seals the bag down tight, locking out air and locking in more tenderness.
The bag size is usually fully customizable, so you can seal anything from stew cuts to small rib racks. Professional chefs sometimes use these bags to cook meat in water at a low temperature because they protect against air getting in and spoiling the meat, thereby allowing that tender texture perfection that only comes from true slow cooking.
You can literally spend anywhere from six dollars to sixteen hundred dollars on a commercial-grade vacuum sealer machine, but there are many brand name versions available for around fifty to a hundred dollars. That’s not a bad investment, especially when you consider it can be used for all of your food and not just your game meats. Also remember that will be a one-time investment for years of pay-off, versus having to pay a meat processor over and over again.
 If you aren’t sold on the idea of a vacuum sealer or it’s not an option for some reason, the second best option to protect your game cuts in the freezer is sealing them with a tight layer of plastic wrap, followed by a tight layer of freezer paper, all held in place with freezer tape.
You have to make sure to lock out as much air as possible when enclosing the meat with the plastic wrap. There are instructional charts available to show the best methods for folding meat in butcher paper that will work just as well with plastic wrap.
One wonderful and delicious way to avoid the freezer for smaller cuts is to make your own jerky. You can buy a dehydrator if you like, but it’s very easy to make jerky using your regular oven.
A basic recipe for the marinade for a pound of fresh meat strips is two-thirds of a cup of liquid such as Worcestershire, Soy, vinegar or a combination, plus a quarter cup of brown sugar and three teaspoons of whatever spices you like.
Want more options? Here are five other venison jerky recipes.
Source: Flickr, Marie Hebert, CC BY 2.0
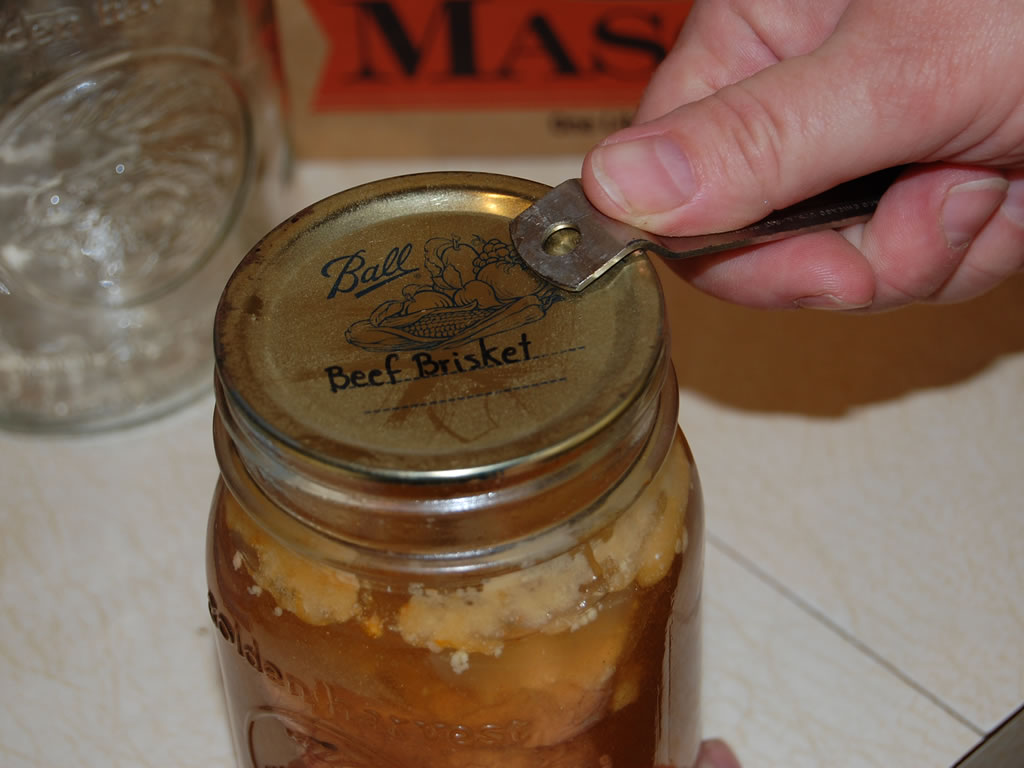
It will also take more time than wrapping the meat in plastic and paper, and the vacuum sealing method as well. Meat that’s properly preserved in this way can be stored in a cool dry place for up to three years.
When you are purchasing jars, keep in mind that you can fit approximately one pound of meat in the same space as one pint of liquid. A quart jar, for example, would hold approximately two pounds of meat. It is also important to consider serving sizes. You must use the entire contents of an opened jar within one week, so you may want to consider using smaller jars if you can’t utilize a full pound or two.
For more information on preserving meat using the canning method, check out this in-depth article at backwoodshome.com.
![]()
About the Author
Chris Browning is the current editor of Gun News Daily and an active supporter of gun rights throughout the US. GND is a resource for Second Amendment supporters and gun enthusiasts alike.
Some photos provided by LetsTalkSurvival, Flickr and other attribution-free sources.
--